
After trying the artisan sourdough bread twice, I think I still prefer the soft crust type of sourdough breads 🤔. Besides the tougher and more chewy crust of the artisan bread, it's painful to see my orange colour Le Crueset cast iron pot being heated to dull red colour. In view of my short arms, I run the risk of being scorch by the hot pot and oven.
During the my last trip to Taiwan, I bought a natural yeast bread book for beginner. Yes, I think I need some proper guidance in handling this type of bread.

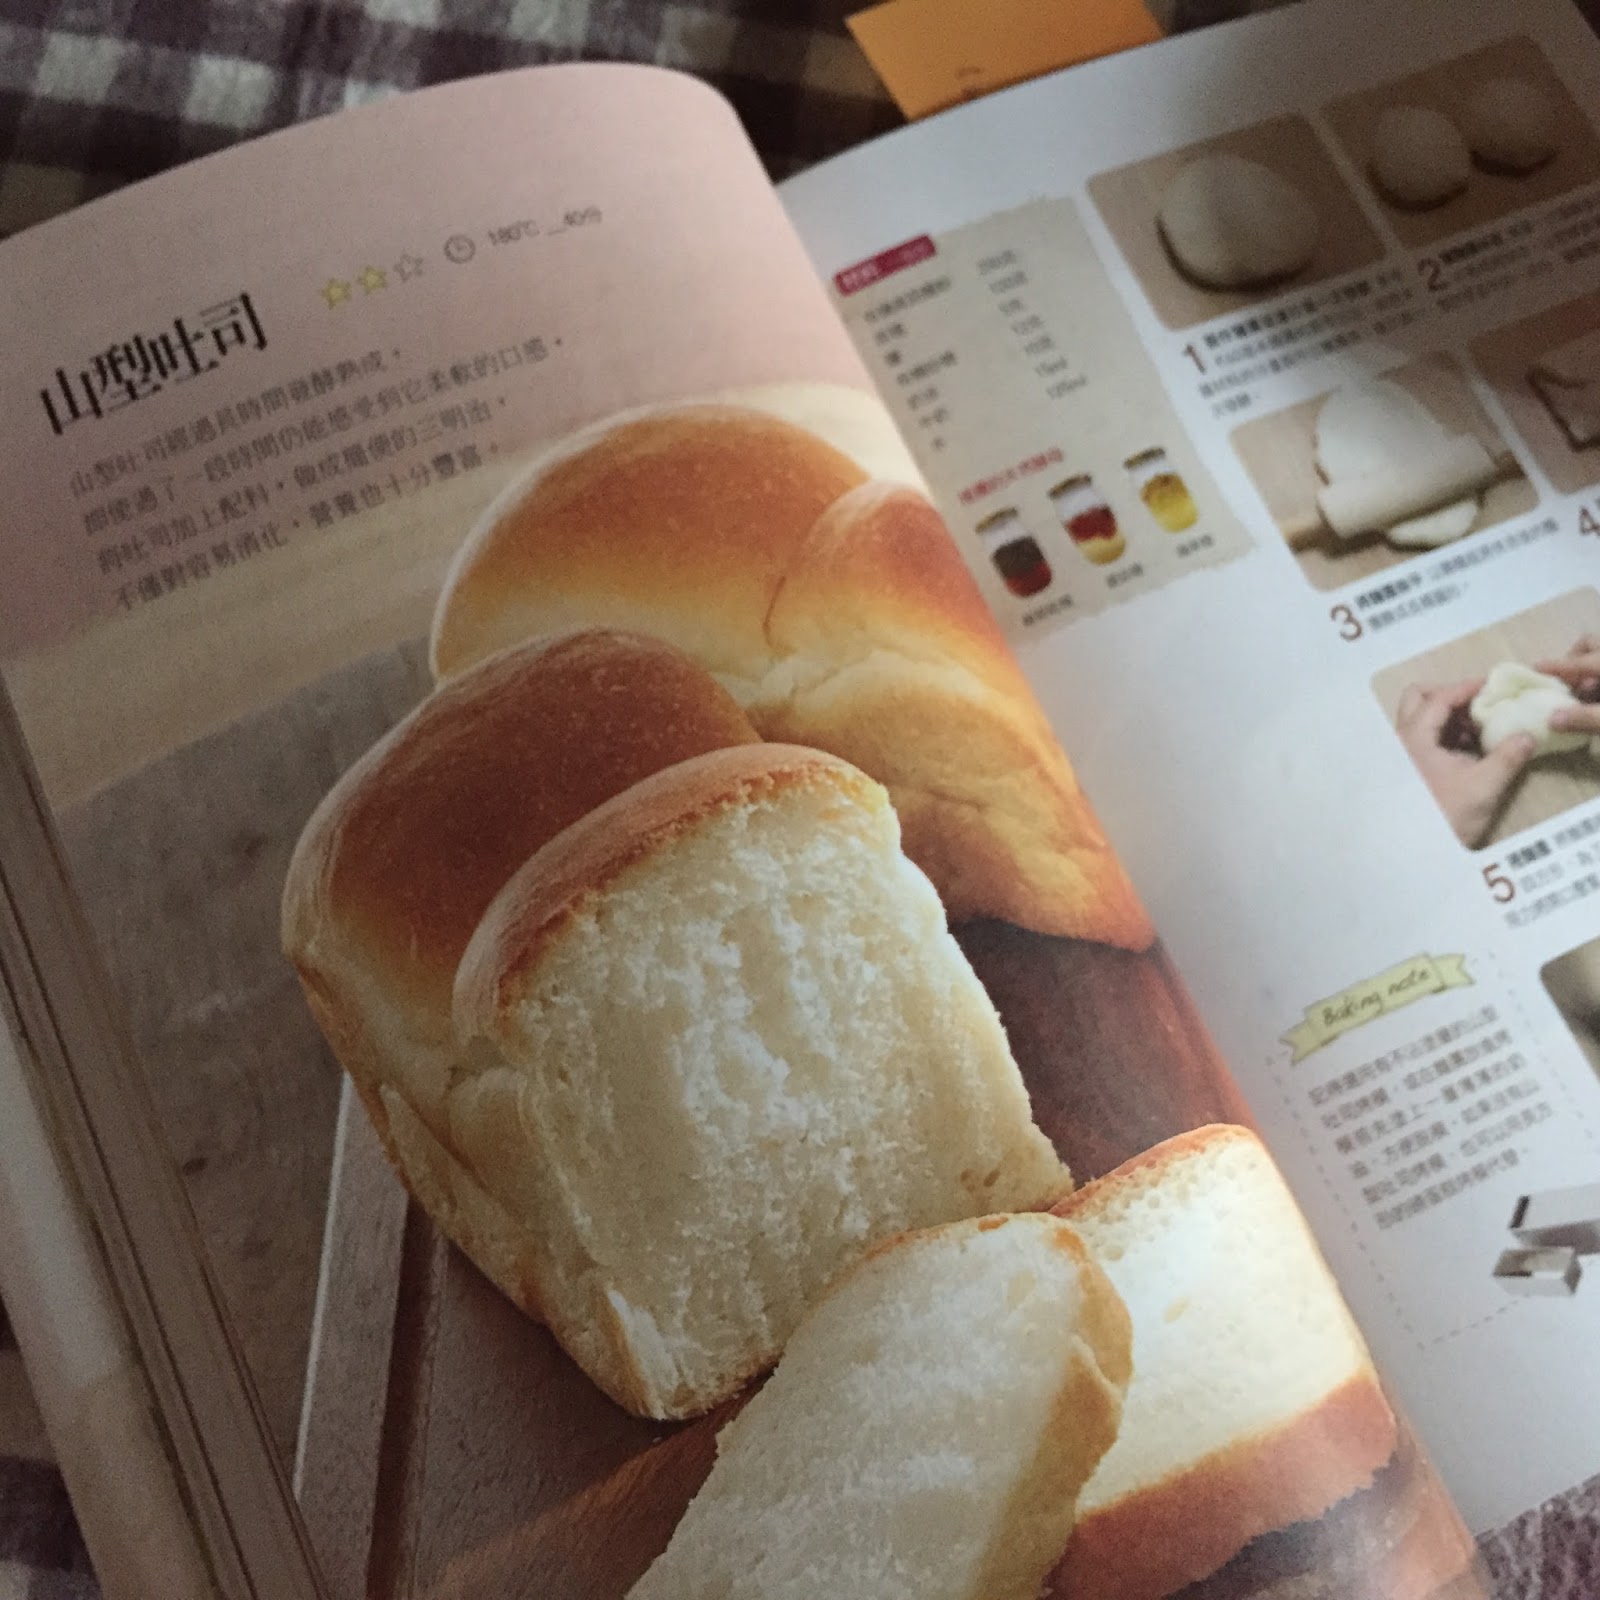
I tried out one of the simpler recipes, which is a simple white bread. The crust and crumb were a little chewy - the characteristics of the sourdough bread. As the name suggested, the sourdough bread really tasted a little sour. I think I'll try to make meat sandwiches with this tangy bread next time 😋

Raw dough weight: 539g
Bread weight: 525g
Pan size: 26 x 10 x 7.5 cm
Baking temperature: 180 dC for 30 to 40 minutes


Fold in the two shorter ends towards the centre.

Roll up the dough from the other unfolded end.

Pinch to seal the end of the dough to prevent it from opening out during proofing.

Place the doughs with the sealed sides facing down in a lightly greased baking pan (26x10x7.5cm).

12. Spray some water and let the dough proof in a warm oven for about 90 to 120 minutes.
I turned on the oven to 50 degree C for 1 minute to warm up the oven.


13. When the dough reaches about 1 cm above the rim of the pan, take out the dough and start to preheat the oven to 180°C for about 10 minutes.

14. Sprinkle a thin layer of bread flour over the top. I used the remaining dusting bread flour for this.


15. Bake in a preheated oven at 180°C for about 30 to 40 minutes. I baked it for 35 minutes.


16. Remove the bread from the mould immediately after leaving the oven. Let the bread cools on a cooling rack.


17. Cut the bread after it has completely cool down.


Pan size: 26 x 10 x 7.5 cm
Baking temperature: 180 dC for 30 to 40 minutes
Ingredients
Starter
60 g natural yeast (100% hydration)
35g bread flour
35g water
Dough
250g bread flour
120g starter
5g fine salt
15g raw sugar
10g unsalted butter
15g milk
125g water
Directions
Room temperature: 27°C ~ 29°C
1. Prepare the starter by combining fed active natural yeast, 35g of bread flour and 35g of water together. Cover and let the starter dough stands in room temperature for about 1 to 3 hours, or till the mixture double in size.


2. Collect 120g of the starter to combine with the dough ingredients later.
You can also knead the dough using a bread maker.
3. Mix all the dough ingredients, except the butter, together in a mixing bowl.


Cover and let the dough rest for about 15 minutes.

4. Knead the dough till it becomes smooth.


5. Knead in the unsalted butter.

6. Continue to knead till it reaches window pane stage.


7. Shape the dough into a ball, and keep in a plastic bag pre-coated with a little oil. Tie a loose knot at the opening to seal the bag.
Let the dough stays in room temperature for about 2.5 ∼3.00 hours.


8. After proofing, wrap a second plastic bag outside, and keep in a closed container.

Store the setup in a fridge for about 12 to 18 hours.
I kept the dough in the fridge at around 5pm and took it out at 7am next morning.
The original recipe stated 5 hours of proofing in room temperature, but I did an extra step in cold fermentation.

9. In the next morning, remove the outer plastic bag, invert the dough with the first plastic bag, and let the dough stays in room temperature for about 1 hour.

10. Discard the plastic bag and turn the dough onto a floured work top.

Deflate the dough and divide it into three portions.


Shape into three balls, cover with a lid, and let them rest for about 20 to 30 minutes.


11. After the rest, take one dough and roll it out into a flat oval shape.

Flip over the dough, and do another round of rolling.


Pinch to seal the end of the dough to prevent it from opening out during proofing.

Place the doughs with the sealed sides facing down in a lightly greased baking pan (26x10x7.5cm).

12. Spray some water and let the dough proof in a warm oven for about 90 to 120 minutes.
I turned on the oven to 50 degree C for 1 minute to warm up the oven.


13. When the dough reaches about 1 cm above the rim of the pan, take out the dough and start to preheat the oven to 180°C for about 10 minutes.

14. Sprinkle a thin layer of bread flour over the top. I used the remaining dusting bread flour for this.


15. Bake in a preheated oven at 180°C for about 30 to 40 minutes. I baked it for 35 minutes.


16. Remove the bread from the mould immediately after leaving the oven. Let the bread cools on a cooling rack.


17. Cut the bread after it has completely cool down.


