A simple and easy to prepare no-meat vegetarian soup. Although the ingredients are rather ordinary, the flavourful kimchi was sufficient to infuse great taste and add nice colour to the soup 🍜😋
Ingredients
1 packet of Korean kimchi, 150g
1 box of pressed tofu, 250g
A small bundle of sweet potato noodle, soak in hot water
1 shiitake mushroom, soaked & julienned*
1 shiitake mushroom, soaked & julienned*
1 slice ginger
1/2 onion, julienned
2 stalks white scallion
5 cm carrot, cut into slices
Seasonings
1 tbsp Hua Diao rice wine
1 tsp Korean seasoned soy bean paste
1/2 cube chicken stock
Salt & sugar to taste
Dash of sesame oil
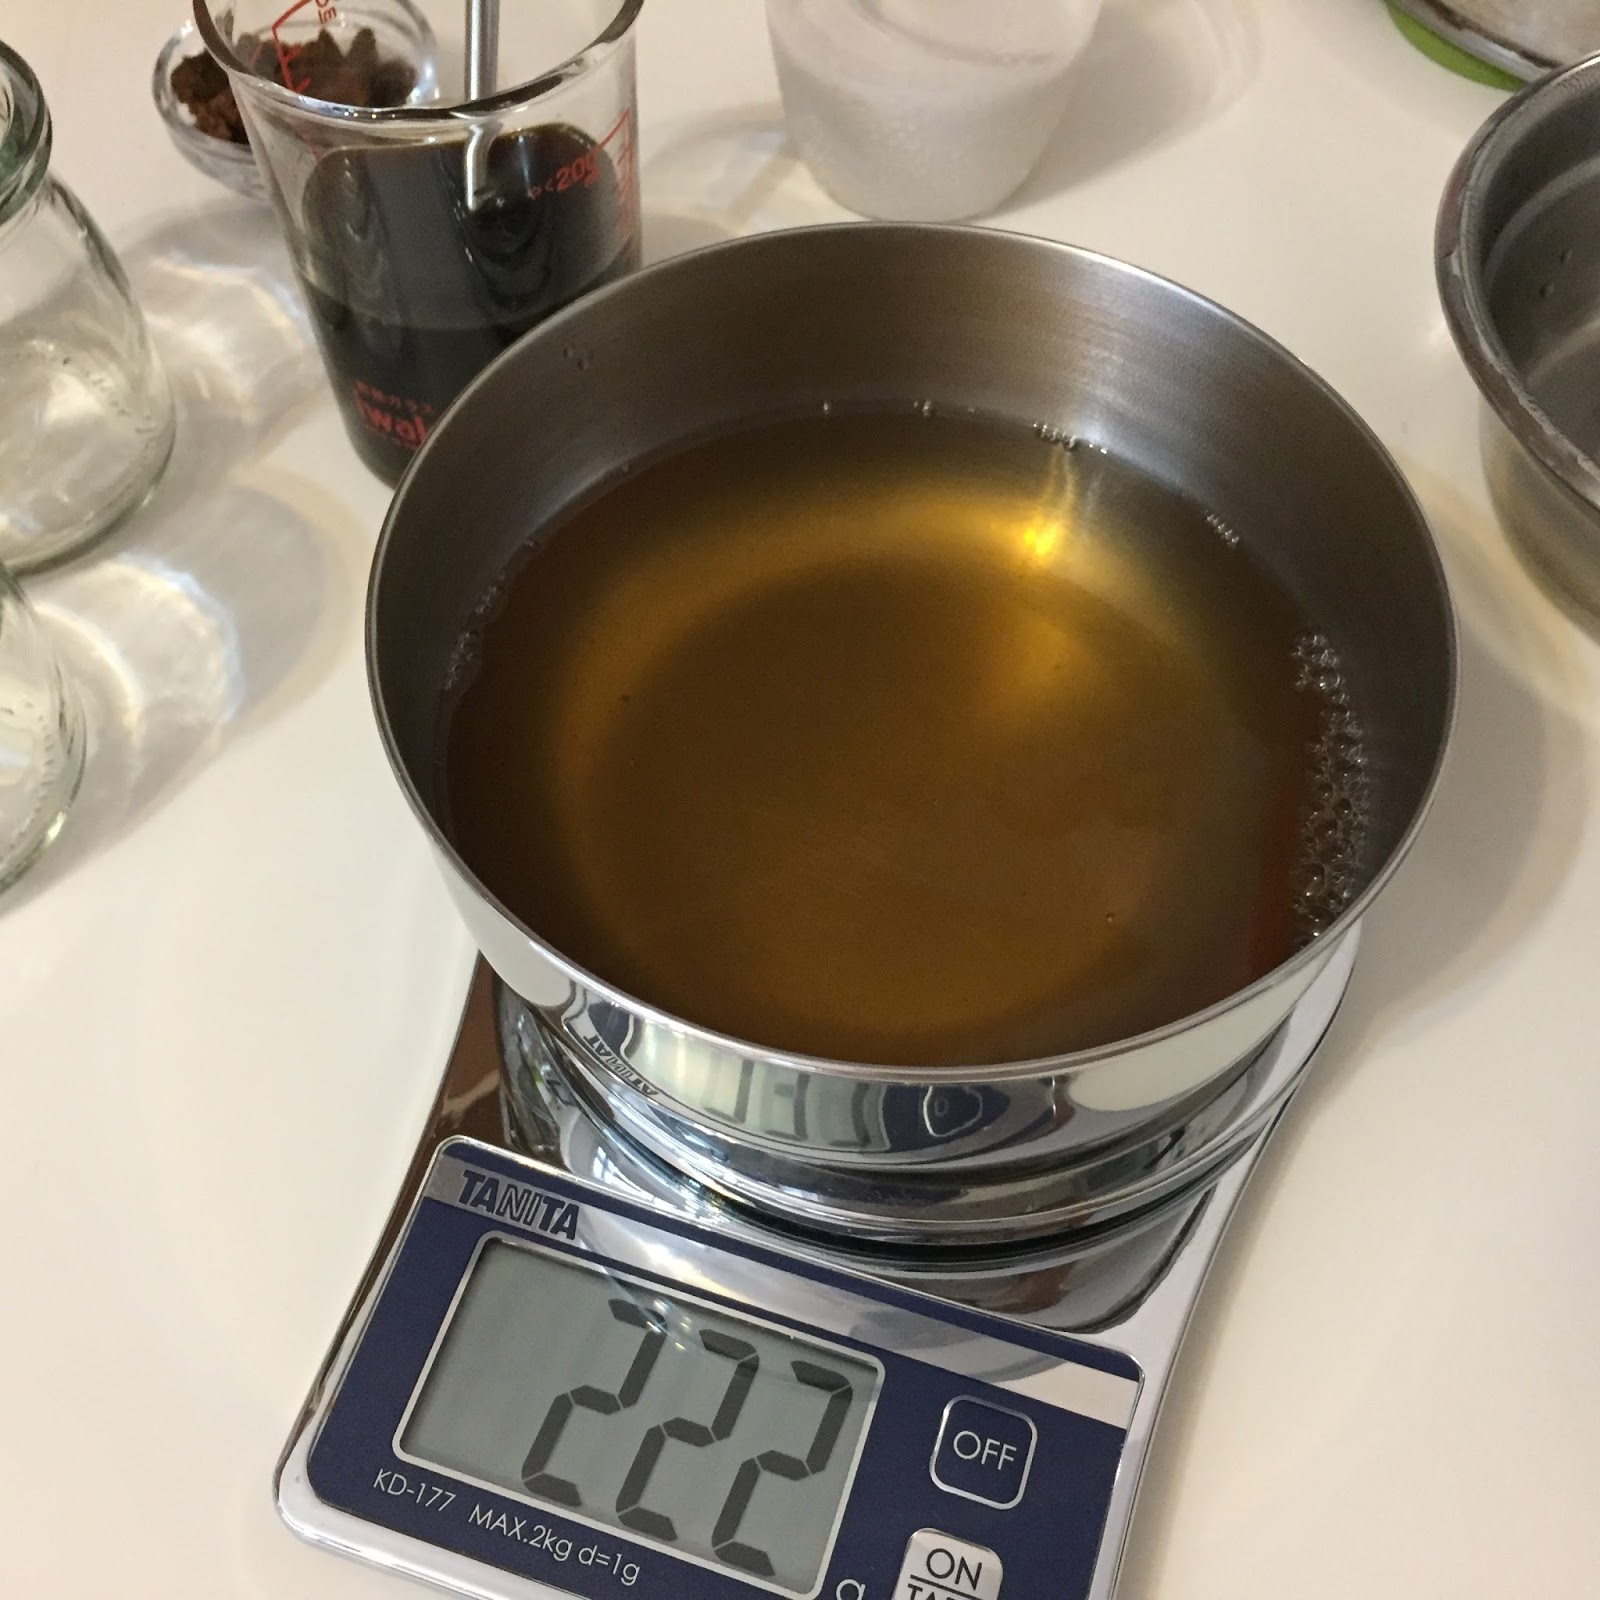
250~300ml water
Leftover mushroom water
Leftover kimchi sauce
Garnishing
Some cut green scallions
* Keep the water after soaking the shiitake mushrooms


2. Heat up about 2 tsp of olive oil in a pot, stir-fry the ginger, onion and white scallions till fragrant.
* Keep the water after soaking the shiitake mushrooms

Directions
1. Squeeze dry the kimchi slightly. Keep the kimchi sauce for later use. Easier to bring out the fragrance of the kimchi during stir-fry if the kimchi is drier.
Add in the shiitake mushrooms, then followed by the carrot slices.

Next, stir in the kimchi. Stir-fry till fragrant.

3. Pour in the Hua Diao rice wine and continue to stir-fry for a while.

4. Add in the mushroom water, kimchi sauce, water, and Korean seasoned soy bean paste. Cover the pot and bring to a boil.


5. When most of the ingredients have softened, add in sugar, salt and chicken stock cube.


6. When the soup starts to boil again, trim the sweet potato noodle into shorter length, and add to the pot. Let it simmer till soften.

7. Arrange the cut tofu above the rest of the ingredients, and bring to a light boil. Off the heat, cover with a lid, and let the ingredients simmer for about 5 to 10 minutes.


8. Add dash of sesame oil to the soup before serving.

Add some cut green scallions as garnishing. Serve warm with warm rice 🍚😋